

Do you need to change or fix your vinyl siding setup? You must hear about vinyl siding removal tools. Yes, a vinyl siding removal tool is an essential tool that simplifies the panel unfastening and detachment process without damaging materials.
So, collaborate with the proper method for work to minimize expenses and speed up project completion.
The following guide presents efficient methods for using vinyl siding removal tools and offers some helpful pointers for managing a seamless siding removal operation.
So, let’s get started!
Table of Contents
What is Exactly Vinyl Siding Removal Tool?
The vinyl siding removal tool is a small portable instrument that exclusively detaches vinyl siding panels. Its distinctive hook shape enables the tool to open interlocking seams between panels without damaging the panel surface.
This handy device is low-cost and accessible because it works seamlessly as an essential tool for domestic and commercial purposes.
When Do You Have to Use Vinyl Siding Removal Tool?
Homeowners benefit from the durability of vinyl siding in their outer walls, although they occasionally require temporary or permanent removal of this exterior material.
The vinyl siding removal tool helps users unlock and detach panels while protecting their vinyl material. There are several typical scenarios where this tool becomes essential for your work.
- Painting or Staining: Some homeowners choose to maintain vinyl siding by painting or staining it because they prefer a new appearance. However, the panels should be removed before the application to achieve an even and smooth finish.
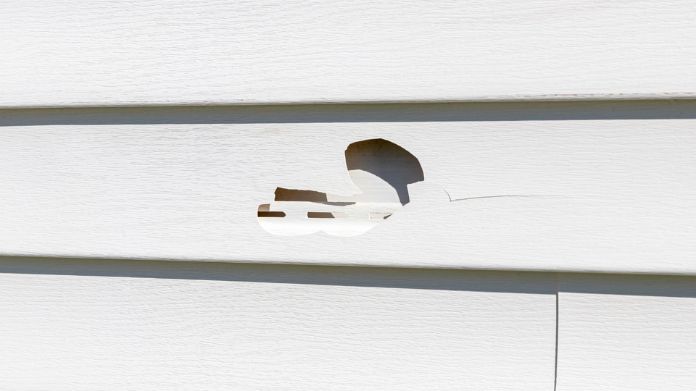
- Damage Repair: If severe storm damage or accidents create dents, cracks, or warps in the exterior, you must replace individual wall panels. The vinyl siding removal tool makes it easy to handle damaged panels and new installations.
- Structural Repair: Sometimes, your underlying wall needs examination for water damage, mold growth, or rot. In this scenario, you can use the tool to address the issues.
- Insulation Upgrades: Adding or upgrading insulation behind the siding will improve your home’s energy efficiency. A vinyl siding removal tool enables you to uninstall siding components without damaging the panel structure.
How to Use the Vinyl Siding Removal Tool Easily?
The removal process of vinyl siding can seem difficult at first glance. However, the correct tool and technique provide a simple approach.
So, follow the steps that lead to effortless vinyl siding removal, regardless of whether you need to fix damages or improve insulation and repair work.
1. Set a Target on the Area You Need to Delete
 As the first step, identify which panel needs to come off. Check for any signs of damage, including, such as warping, discoloration, or cracking in siding material.
Also, before you start working on insulation and repairs, identify the zone in which you will operate.
Make sure your target area includes only the required section for removal. Then, conduct a last verification step to confirm you will not need to remove anything extra.
2. Prepare Your Work Area
 Now, you can remove all obstacles surrounding the siding before initiating work. Make a safe workplace by removing all furniture, tools, and debris.
Also, remember that hand protection is crucial during the process. In addition, you need to use a stable ladder whenever working at elevations. Also, you need to get all essential tools present, such as the zip tool and pry bar, among others.
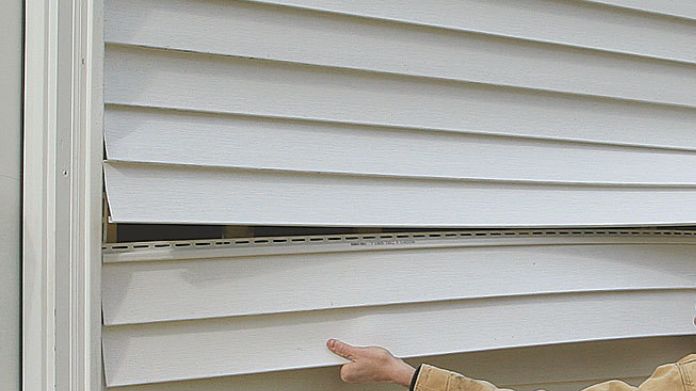
3. Insert the Vinyl Siding Tool
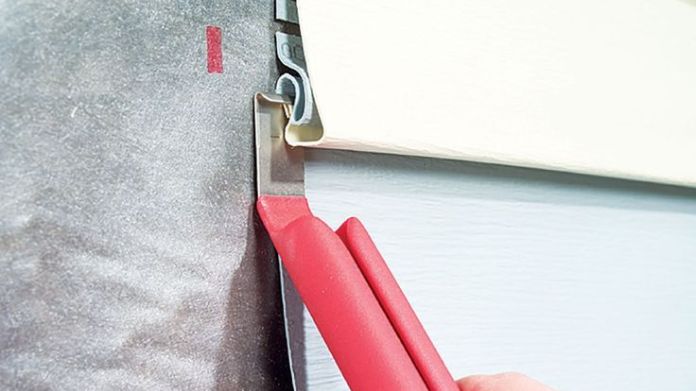 The vinyl siding removal tool should slide beneath the overlapping panel section. So, place the tool properly to catch the panel’s locking seam.
Then, always apply a light force while you move the tool. After that, proceed with deliberate and gradual movements during the operation. Also, know that incautious handling may damage the vinyl siding.
4. Unlock the Siding Panel
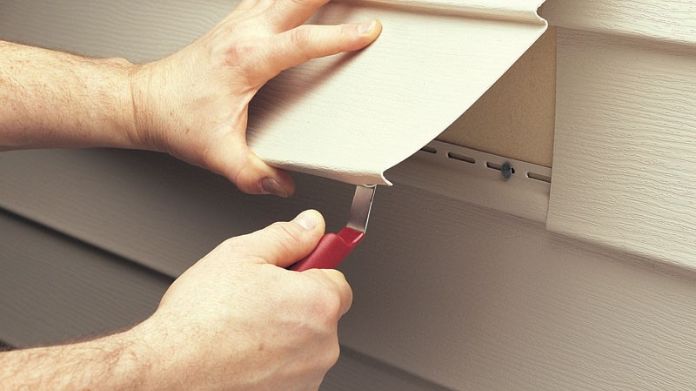 The tool needs to be pulled downwards to dislodge the panel from its place. So, move the tool across the complete seam range to let the section free.
If the panel remains rigid, delicate moving motions can be applied to the tool to achieve enhanced loosening potential. After that, the process will be performed until all panel portions become free.
5. Remove the Panel
 When the panel becomes unlocked, proceed to lift it gently. Your procedure should not push past its limit, which may lead to vinyl breakage.
So, a pry bar should be used as additional support if you encounter difficulty. Also, the examination should include a search for screws or nails that keep the panel under construction. After completion of the removal, set the panel properly for upcoming use.
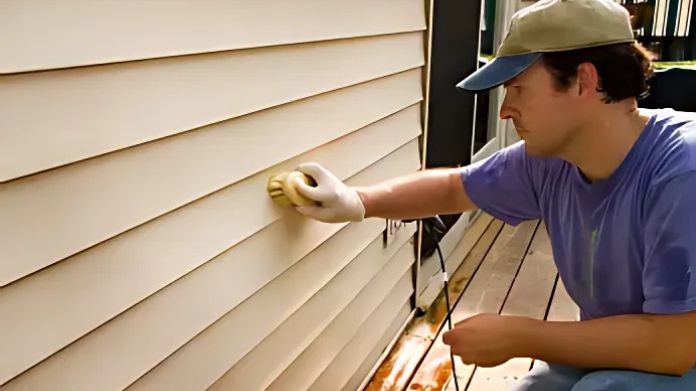
6. Inspect the Panel and Prepare
 Check all areas of the removed panel for visible signs of damage. Also, always pay attention to the search for signs of cracks on top of mold growth areas.
Then, clean the reusable panel until it reaches full cleaning specifications. Make sure the replacement panel stands the same in dimensions and color when you decide to replace it. Right after that, begin your work only after you tidy your workspace area.
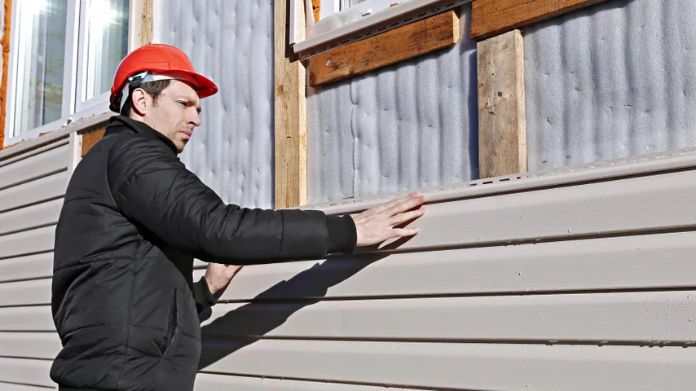
7. Replace or Reinstall the Siding
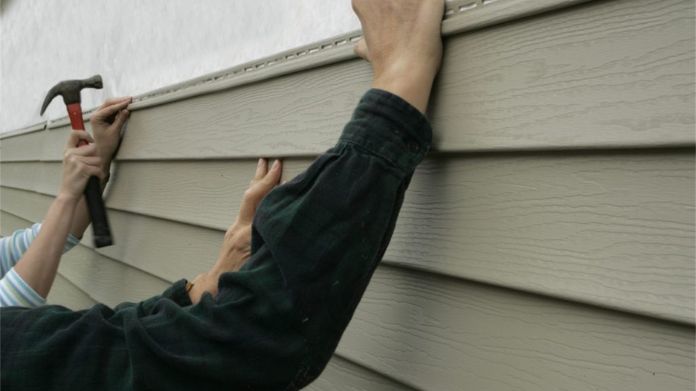 Position the panel in the desired alignment using a vinyl siding removal tool. After that, press the edges to put the panel in its correct position gently.
Before that, verify that new panels are precisely compatible with existing sidings during replacement. Continue by using nails or screws according to the necessity for panel security. Finally, check for any misalignments.
8. Final Inspection
 Before completion, you should walk to the front of the house for a siding examination. Check the area for holes and spaces to loose edges and unleveled seams.
Then, press and smooth down sections of the seam if necessary to achieve a tight fit. Finish the job by making essential adjustments to achieve complete installation security and perfection.
Tips to Keep in Mind When Using Vinyl Siding Removal Tool
The vinyl siding removal tool ensure smooth and damage-free work yet requires proper technique.
Knowing the proper implementation process will make your removal experience safe and protect your siding. Here are some tips.
- Work in Moderate Temperature: It is essential to perform siding removal on days with moderate temperatures. Temperatures near freezing point break down vinyl material which leads to cracks. Also, hot temperatures can cause vinyl to become distorted.
- Be Patient: Hasty movements might cause damage to either locking hardware or metal siding panels. You should devote adequate time to unlocking the siding panels. Take time to move the vinyl siding removal tool carefully before trying to remove the panel.
- Keep Extra Panels: Careful handling is essential for avoiding accidents which may occur. Homeowners should maintain an emergency stock of spare panels because replacement situations can occur.
- Protect Yourself: Safety should always come first. So, work gloves should be worn to protect your hands. Also, safety glasses are needed to defend your eyes against flying objects. Also, use a proper ladder for elevated working positions to lower your chance of getting hurt.
Wrapping Words
Every homeowner must acquire proper training on effectively using a vinyl siding removal tool. Proper tools combined with preparation techniques enable you to conduct efficient and safe vinyl siding replacement work.
So, this post contains all the necessary information for homeowners to reach professional-level outcomes. Now, follow the steps precisely to achieve job satisfaction from your completed work.
Excellent guide on vinyl siding removal tools! I appreciate how thoroughly you covered the tools available and provided practical insights into choosing the right one for the job. Your step-by-step instructions and helpful tips make the siding removal process much less daunting, even for DIY beginners. The focus on safety and efficiency is especially valuable. This is a super helpful resource.