Dealing with water stains on ceiling? You’re not alone. Many homeowners face this common issue. But don’t worry, you can tackle it yourself.
This guide will show you how to identify the source of the water stains on ceiling, clean it, and prevent it from coming back.
Okayreview.com walks you through each step, from cleaning to painting, in a way that’s easy to understand and follow.
So, roll up your sleeves and get ready to say goodbye to those unsightly water stains on your ceiling. Let’s dive in and make your ceiling look like new again!
Table of Contents
Identifying the Source of Water Stains
When you spot water stains on the ceiling, it’s a sign that you need to act fast. Finding out where it’s coming from is key.
Here’s how to track down the cause of water stains on ceiling:
- Check the Roof: Often, a leaky roof is behind water stains on the ceiling. Look for missing shingles or other damage. If your roof is old or has been through a storm recently, it’s a likely suspect.
- Inspect Plumbing: Pipes hidden above your ceiling can leak, causing water stains on the ceiling. Pay special attention to areas right below bathrooms or kitchens.
- Look at HVAC Systems: Sometimes, your air conditioning unit, especially in the attic, can leak and create water stains on the ceiling. Check for any signs of dripping or water around these units.
- Consider Condensation: In some cases, high humidity in your home can lead to condensation, which might cause water stains on ceiling. This is more common in poorly ventilated spaces.
Step-by-Step Guide to Removing Water Stains on Ceiling
Dealing with a water stain on the ceiling? Here’s a simple guide to make it disappear:
1. Cleaning the Stained Area
 Before you can effectively cover up water stains on ceiling, it’s crucial to clean it thoroughly to prevent mold growth and ensure the primer and paint adhere well.
Materials Needed:
- Bleach
- Water
- Sponge or cloth
- Protective gloves
- Safety goggles (optional)
- Ladder
Steps:
- Put on gloves to protect your hands. If you’re sensitive to bleach, consider wearing safety goggles.
- In a bucket, combine one part bleach and three parts water.
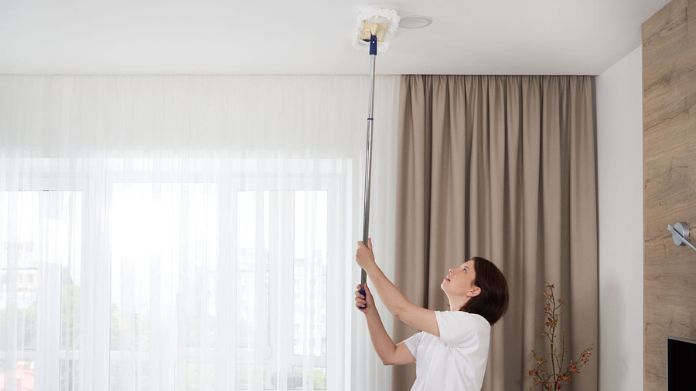
- Use a ladder to reach the water stain on the ceiling safely.
- Dip a sponge or cloth into the bleach solution and gently dab it onto the water stain on the ceiling. Avoid soaking the area; apply enough to cover the stain.
- After a few minutes, wipe the area with a clean, wet towel to remove any bleach residue.
- Allow the ceiling to air dry completely. This may take several hours.
2. Applying Stain-Blocking Primer
 A stain-blocking primer is essential to prevent the water stains on ceiling from bleeding through the new paint.
Materials Needed:
- Oil-based stain-blocking primer
- Paintbrush or roller
- Paint tray
- Ladder
Steps:
- An oil-based, stain-blocking primer is best for covering a water stain on the ceiling.
- Stir the primer well. Pour some into a paint tray.
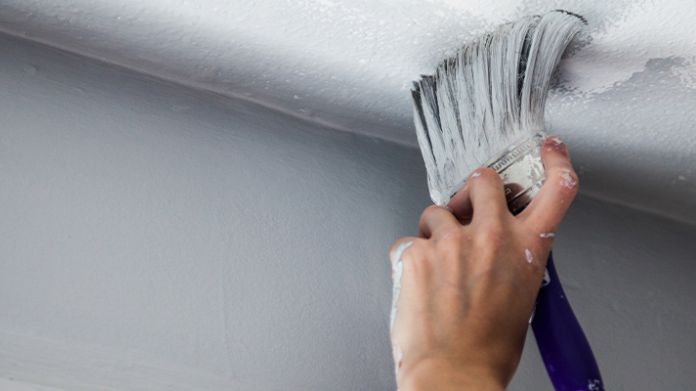
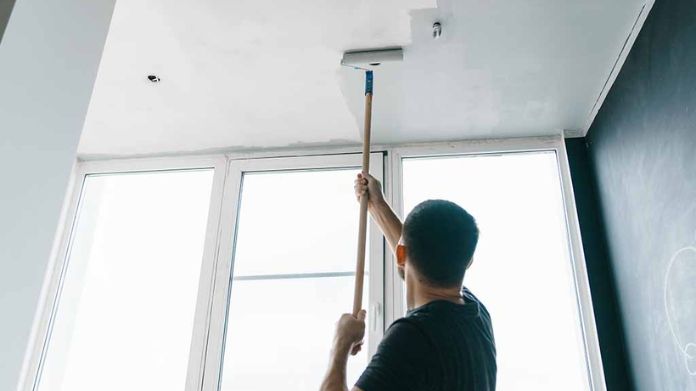
- Using a brush or roller, apply the primer over the water stain on the ceiling. Start from the center of the stain and work your way outwards, covering a slightly larger area than the stain itself.
- Let the primer completely dry, which may take several hours.
- Check the primer’s instructions for specific drying times.
3. Painting Over the Stain
 After the primer has dried, paint over the water stains on ceiling to match the rest.
Materials Needed:
- Ceiling paint (matching your ceiling color)
- Paintbrush or roller
- Paint tray
- Ladder
Steps:
- Stir the paint well before use.
- Dip your brush or roller into the paint and apply it evenly over the primed area. Extend the paint slightly beyond the primed area to blend with the existing ceiling paint.
- Wait for the first coat to dry. This could take a few hours.
- If the water stain on the ceiling is still visible or the paint color doesn’t match perfectly, apply a second coat. Before applying the second layer, ensure the previous one is dry.
Preventing Future Water Stains
No one likes a water stain on the ceiling. It’s a hassle to fix and can be a sign of bigger problems. To stop water stains on ceiling before they start, here are some easy tips:
- Regular Roof Checks: Twice a year, look at your roof. Check for damaged or missing shingles. Fix any issues right away. This stops water from getting in, causing a water stain on the ceiling.
- Keep Gutters Clean: Blocked gutters can lead to water overflow, which might result in a water stain on the ceiling. Clean your gutters regularly to keep water flowing away from your house.
- Inspect Plumbing: Leaky pipes can cause a water stain on the ceiling. Every now and then, check your home’s plumbing. Look for leaks or evidence of wear and tear in bathrooms and kitchens.
- Check Your Attic: Sometimes, the attic can source a water stain on the ceiling. Make sure it’s well-ventilated and dry. Look for any signs of leaks or moisture.
- Maintain HVAC Units: If you have HVAC units in the attic or close to the ceiling, keep them in good shape. Regular maintenance can prevent leaks that might lead to a water stain on the ceiling.
- Control Humidity: High humidity levels often lead to a water stain on the ceiling. To prevent this, use dehumidifiers or air conditioners, particularly during warm or moist conditions, to maintain balanced humidity in your home.
When to Call a Professional?
If you see a water stain on the ceiling and can’t find where it’s coming from, it’s time to call a pro. Also, if the stain keeps returning after you’ve cleaned and painted, this could mean a hidden, ongoing leak.
Large stains, signs of mold, or if the ceiling feels soft and weak are all red flags. Professionals can find the leak’s source, fix it, and make sure your ceiling is safe.
Don’t wait if the water stain on the roof seems like a big problem. A pro can save you time and prevent bigger issues down the road.
Bottom Line
Removing a water stain on the ceiling is a task that homeowners can often handle themselves. By following these steps and addressing the underlying cause, you can maintain your home’s aesthetic and structural integrity.

