No wonder how to improve TV sound, right? When the sound is weak, for example, when using an analog sound source, then an optical audio cable possibly will be the answer.
These correlations are appropriate for TV sound reproduction through external loudspeakers, sound bars, or AV receivers because of the high-quality digital audio.
Specifically, carrying an optical audio cable back to your TV is also not difficult.
- Optical digital audio cable: Perfect for equipment...
- Versatile: Ideal for transmitting crystal-clear...
- High-End: This metal-free fiber optic audio cable,...
- 24K gold-plated connectors: Corrosion resistant...
- No risk: 36 months manufacturer warranty
In this tutorial, Okayreview will lead you through the process, provide tips, and address some issues, so that you can experience better acoustics without the hassle of too many steps.
Let’s get started!
Table of Contents
What is an Optical Audio Cable?
Let’s take a moment to define an optical audio cable before we begin the connecting procedure. Also known as a TOSLINK or SPDIF cable, this type of cable uses light to transmit audio signals.
Optical cables transmit a digital signal as opposed to conventional analog connections, which results in reduced noise and improved audio quality. They are ideal for attaching TVs to AV receivers, soundbars, and other audio equipment.
You can easily identify an optical audio cable by its unique square-shaped connectors. These connectors are designed to fit perfectly into the optical ports on your TV and audio system.
Unlike HDMI cables, which transmit both video and audio, optical cables focus solely on sound, making them a great option if your TV’s HDMI ports are already in use.
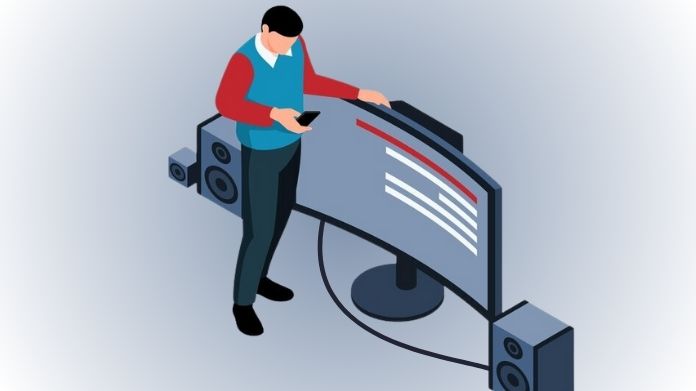
Step-by-Step Guide to Connect an Optical Audio Cable to Your TV
Now that you know what an optical audio cable is, let’s get to the exciting part: connecting it to your TV. Don’t worry if you’re not tech-savvy.
This process is straightforward, and you’ll be enjoying top-notch audio in no time.
Step 1: Locate the Optical Port on Your TV
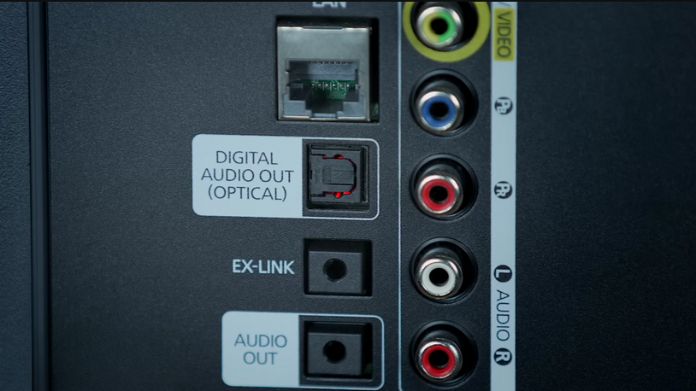 Locating your TV’s optical audio port is the first step. Typically, this connector is marked “Optical,” “Digital Audio Out,” or “SPDIF.”
A little emblem that resembles a beam of light may also be used to identify it. To locate this port, look on the back or side of your television.
Pro Tip: If you’re having trouble finding the optical port, refer to your TV’s user manual. Most modern TVs come equipped with this feature, but it’s always good to double-check.
Step 2: Locate the Optical Port on Your Audio Device
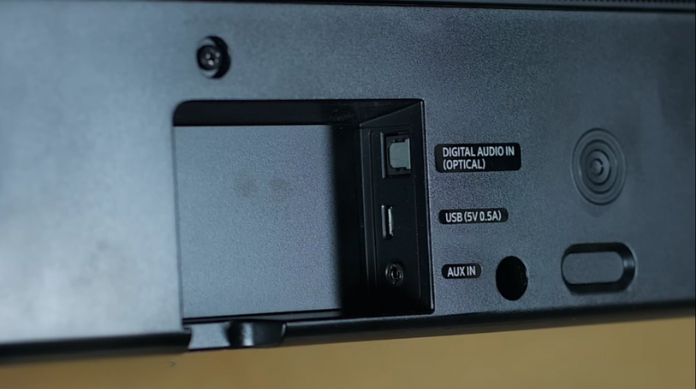 Next, locate your audio device’s optical port. This might be a set of external speakers, an AV receiver, or even a soundbar. This connection is typically marked as “Optical In” or “Digital Audio In,” much like your TV.
Step 3: Connect the Cable
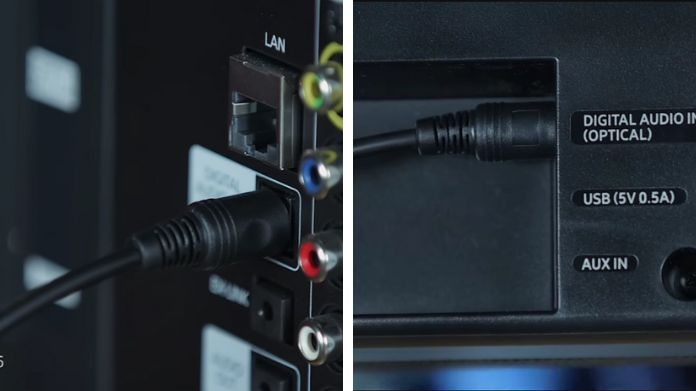 Take one end of the optical audio cable and insert it into the optical port on your TV. You’ll notice that the connector has a specific shape, so make sure it fits snugly.
Once that’s done, connect the other end of the cable to the optical port on your audio device.
Note: Verify the connections’ proper alignment. The connectors or the port itself may sustain damage if the cable is forced into the port in the incorrect direction.
Step 4: Select the Audio Output on Your TV
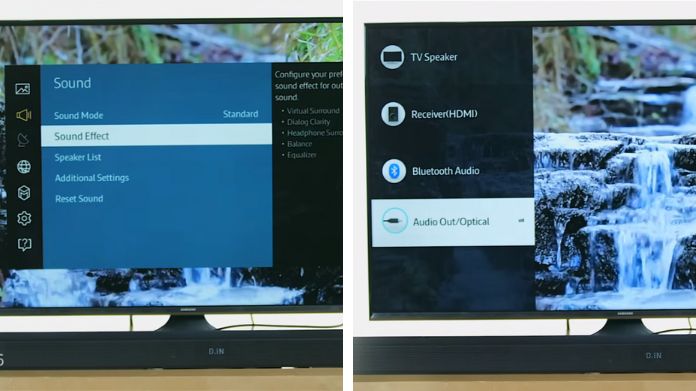
After physically connecting the cable, you’ll need to configure your TV settings to route the audio through the optical cable. Here’s how:
- Go to the TV’s settings menu.
- Navigate to the “Audio” or “Sound” settings.
- Select “Audio Output” and choose “Optical” or “Digital Audio Out.”
This step ensures that your TV sends audio signals to your external audio device through the optical cable.
Step 5: Configure Your Audio Device
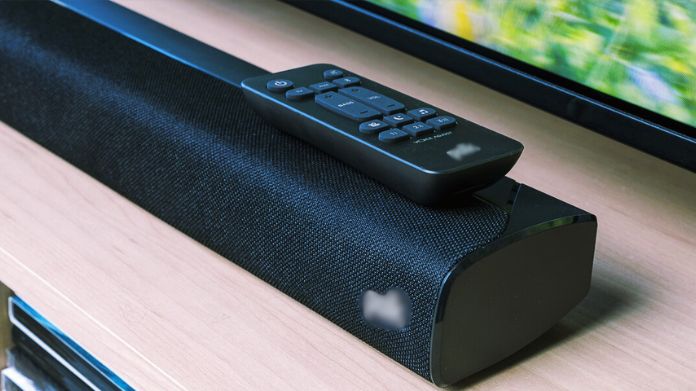 For certain audio equipment to function with an optical connection, further setting is needed. Check the user manual for your soundbar or AV receiver to see if you need to select “Optical Input” or a similar setting.
Step 6: Test the Connection
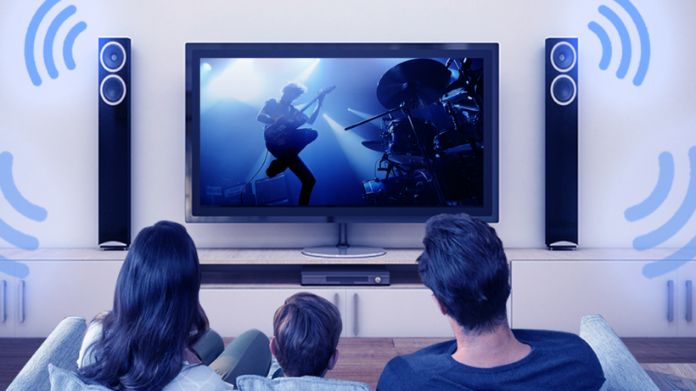 Now it’s time to test your setup. Play a video or stream some music on your TV and listen for the audio through your external device. If you hear sound, congratulations! You’ve successfully connected your optical audio cable.
Troubleshooting Common Issues
Don’t worry if you’re not hearing any sound. Here are some typical problems and solutions:
- No Sound Output: Double-check that both ends of the cable are securely connected. Also, ensure that your TV’s audio output is set to “Optical” in the settings menu.
- Muted Audio Device: Make sure the volume on your audio device isn’t muted or set too low.
- Dirty or Damaged Cable: Inspect the cable for dirt or damage. Clean the connectors gently with a soft cloth if needed.
- Unsupported Audio Format: Certain TVs may produce audio in a format that is incompatible with your audio equipment. Change the audio output format in your TV settings to “PCM” or “Stereo.”
Why Choose an Optical Audio Cable?
You might be wondering why you should use an optical audio cable instead of other options like HDMI or Bluetooth. Here are a few reasons:
- Superior Audio Quality: Optical cables deliver uncompressed digital sound, making them ideal for high-quality audio setups.
- No Interference: Because they use light to transmit signals, optical cables are immune to electromagnetic interference.
- Easy Setup: With no need for complex configurations or software, optical cables are a hassle-free option for connecting audio devices.
Final Thoughts
An easy yet powerful approach to improve your audio experience is to connect an optical audio connection to your TV.
The enhanced sound quality will be audible whether you’re streaming music, playing games, or watching movies. You can easily set up your system and take advantage of crystal-clear audio by following the instructions in this tutorial.
Now that you know how to connect an optical audio cable to your TV, why not give it a try? Grab your cable, follow these steps, and transform your entertainment setup today!
Last update on 2025-02-28 / Affiliate links / Images from Amazon Product Advertising API

Hi my loved one I wish to say that this post is amazing nice written and include approximately all vital infos Id like to peer more posts like this